(This post may contain affiliate links. For more information, please read our Privacy Policy.)
Let me begin by stating that I am NOT a professional photographer. These images have not been altered other than straightening (frankly, because I do not know how)! I’m just a girl with a passion for photography, I love admiring the night sky, and I just happened to get lucky enough to see the northern lights on a recent trip to Iceland. I want to share my tips with you, so that if you are lucky enough to experience this natural phenomenon, you are ready to capture these beautiful memories.
A clear sky is essential for viewing the northern lights, so weather must be on your side!
I specifically planned our trip to Iceland around the lunar calendar, as to ensure that we would be visiting during a week with a new moon, so the moonlight would not be a disturbance in our pictures.
Besides your camera (w/ manual focus capability), a tripod is the second single most important piece of equipment you will need to capture the aurora borealis.
Even then, some of my first images came out blurry, until I got a handle on what to do differently. Consider using a cable release or self-timer (like I later discovered) to take shots without shaking the camera.
You also need to be in the right place at the right time.
September-March is prime time for the northern lights and you will need to be located close to the arctic circle in the northern hemisphere.
Alaska, Canada, Iceland, Greenland, Norway, Finland, and Sweden are great places to start your aurora hunt in the winter months! That being said, be prepared to dress in warm layers when you’re out hunting for the northern lights!
It’s best to get as far away from city lights as possible to avoid light pollution which can distract from the beautiful glow of the aurora.
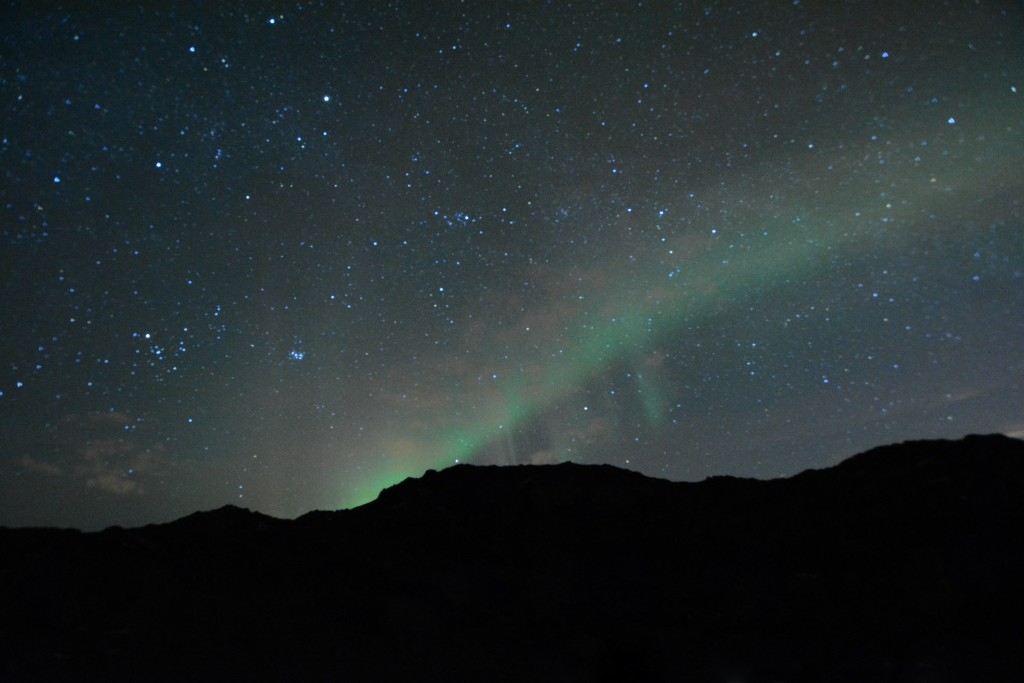
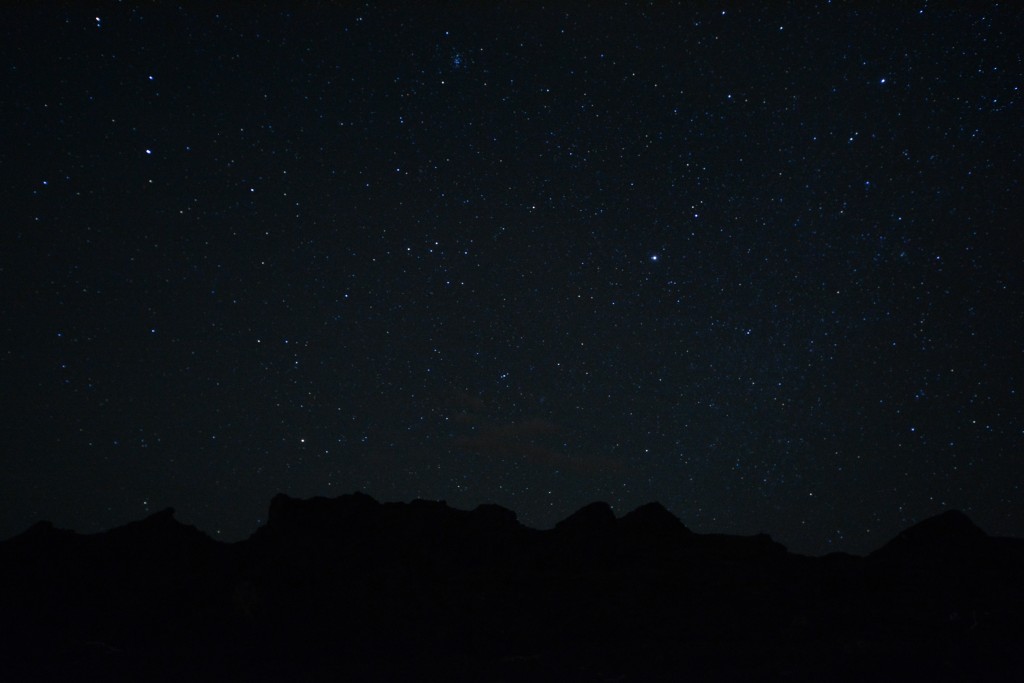
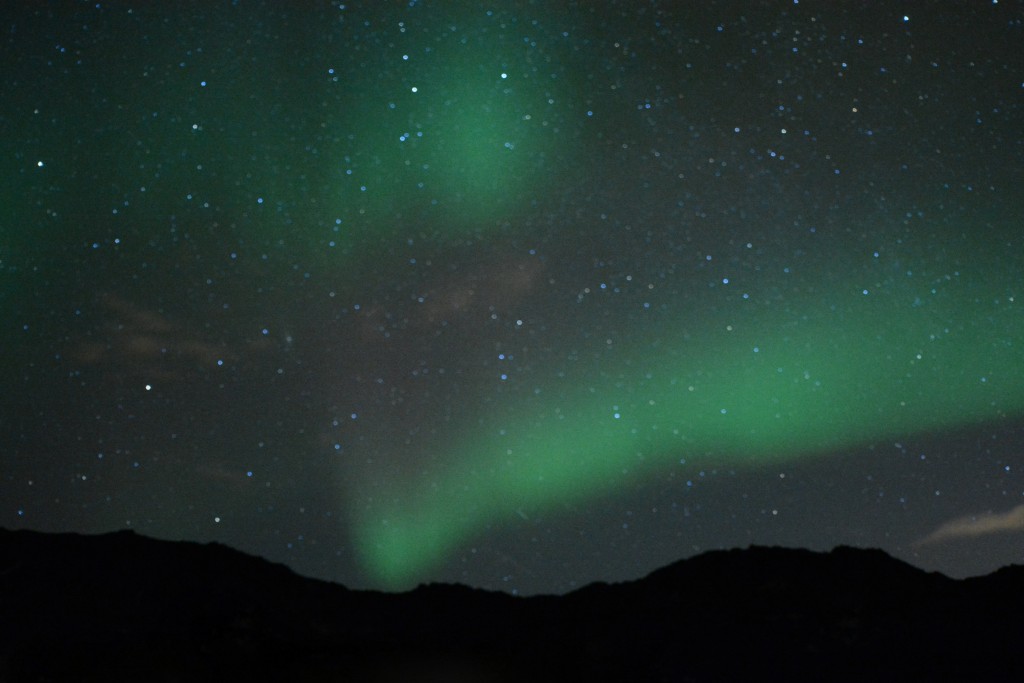
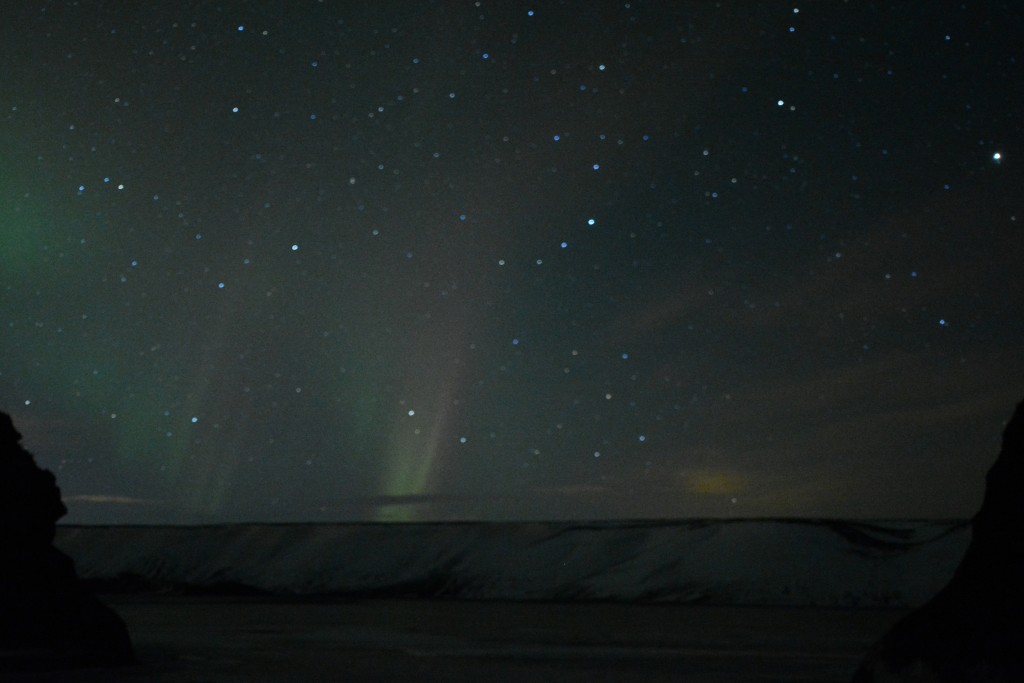
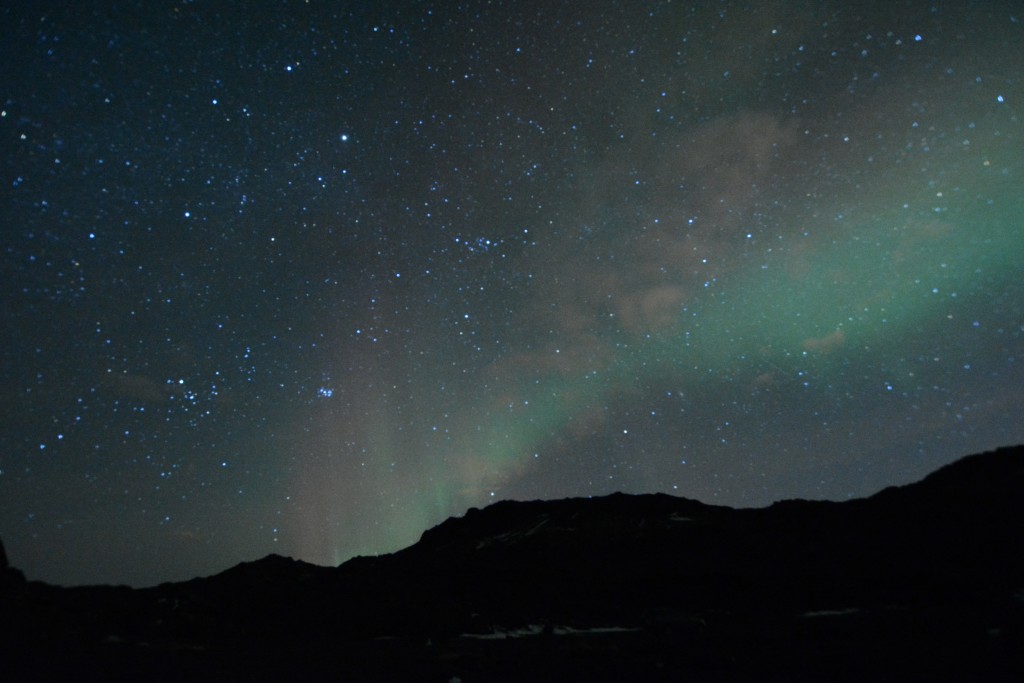
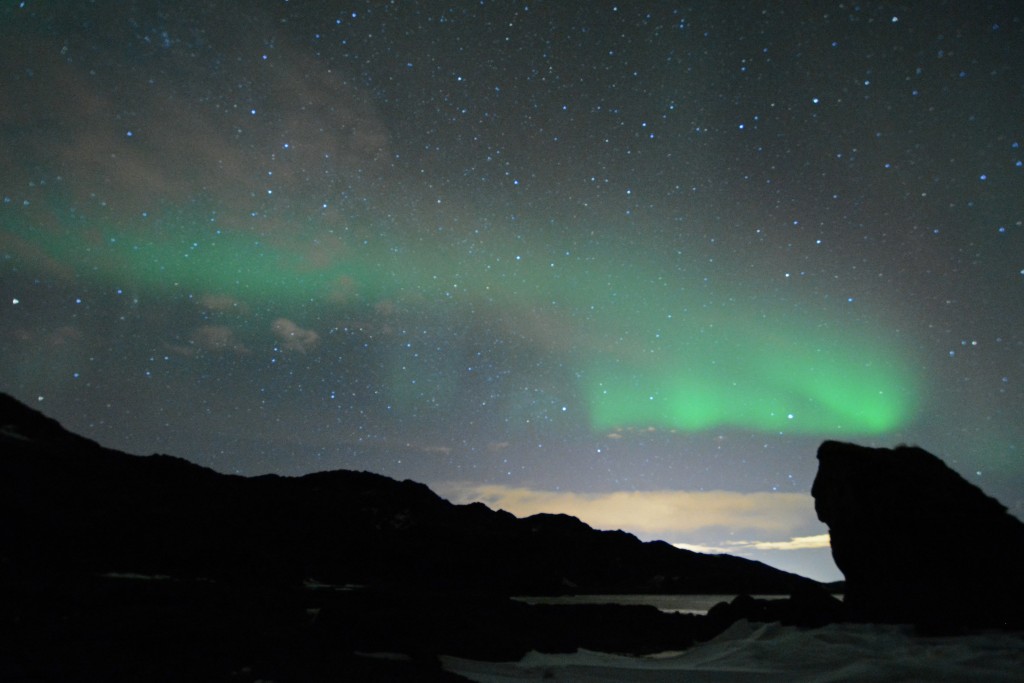
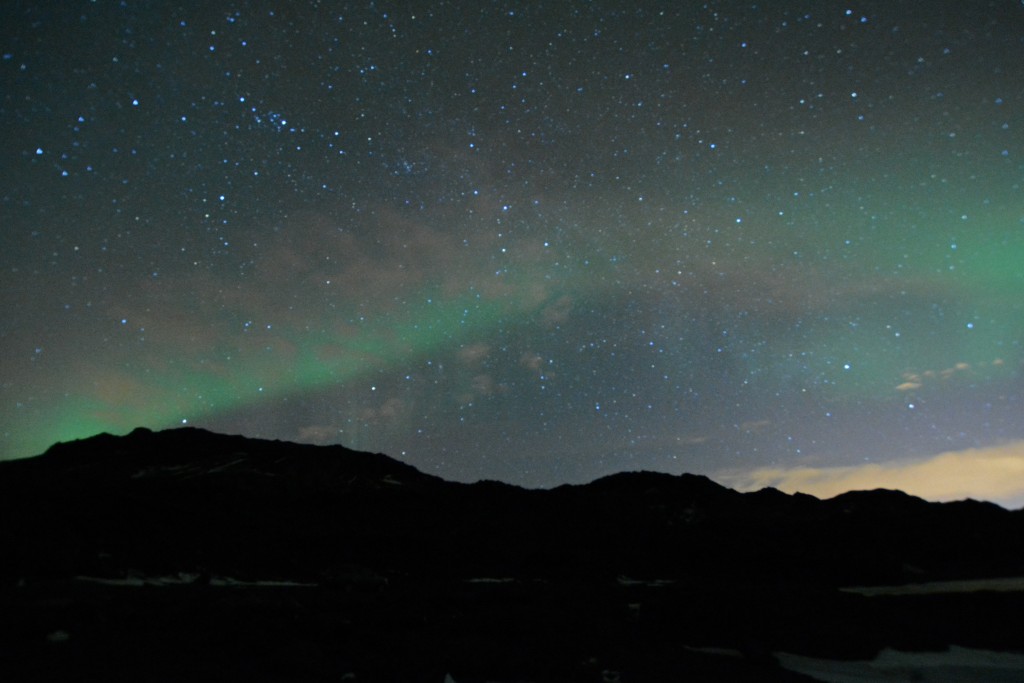
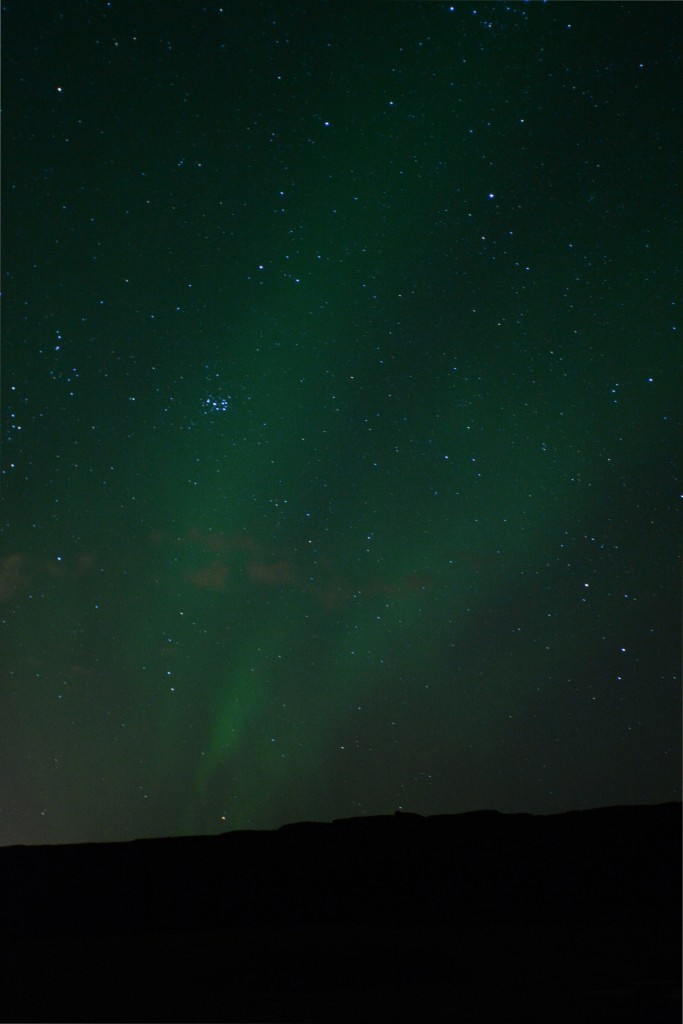
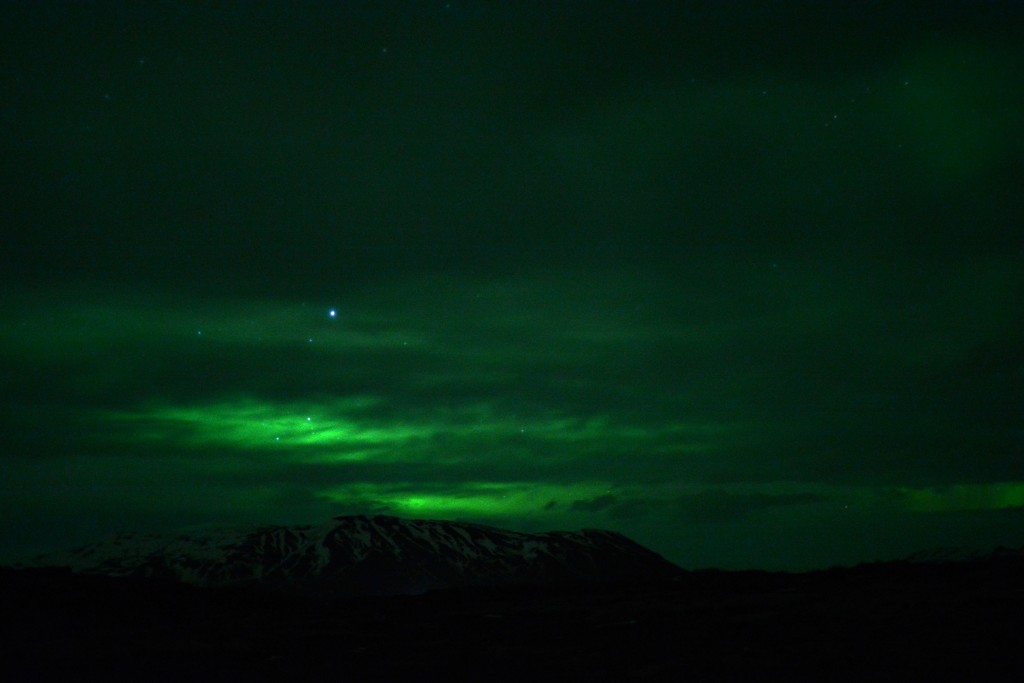
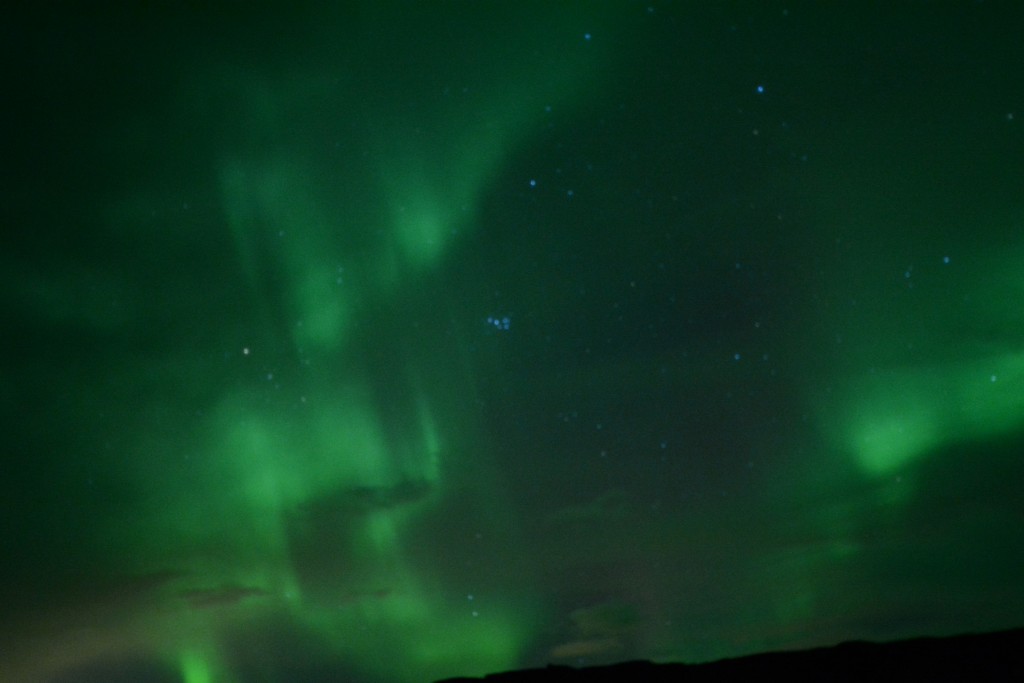
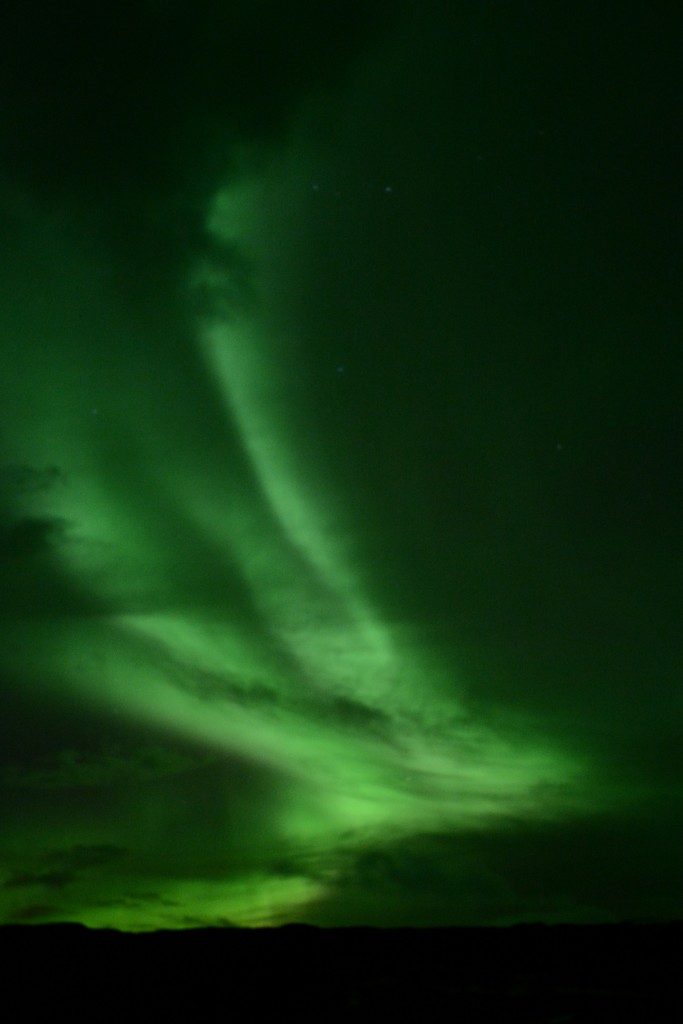
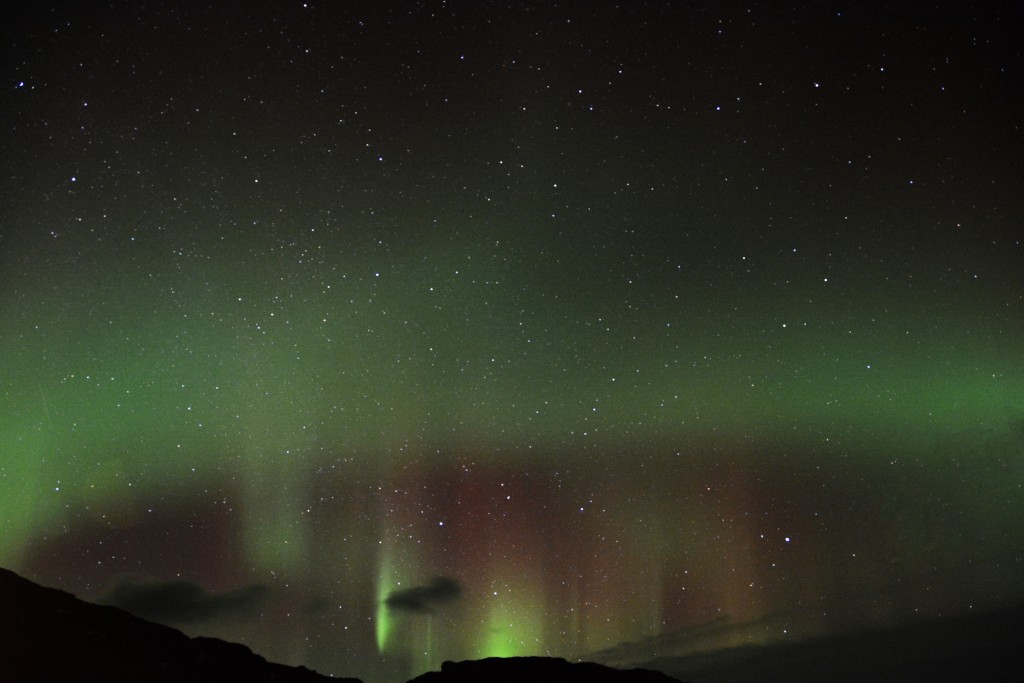
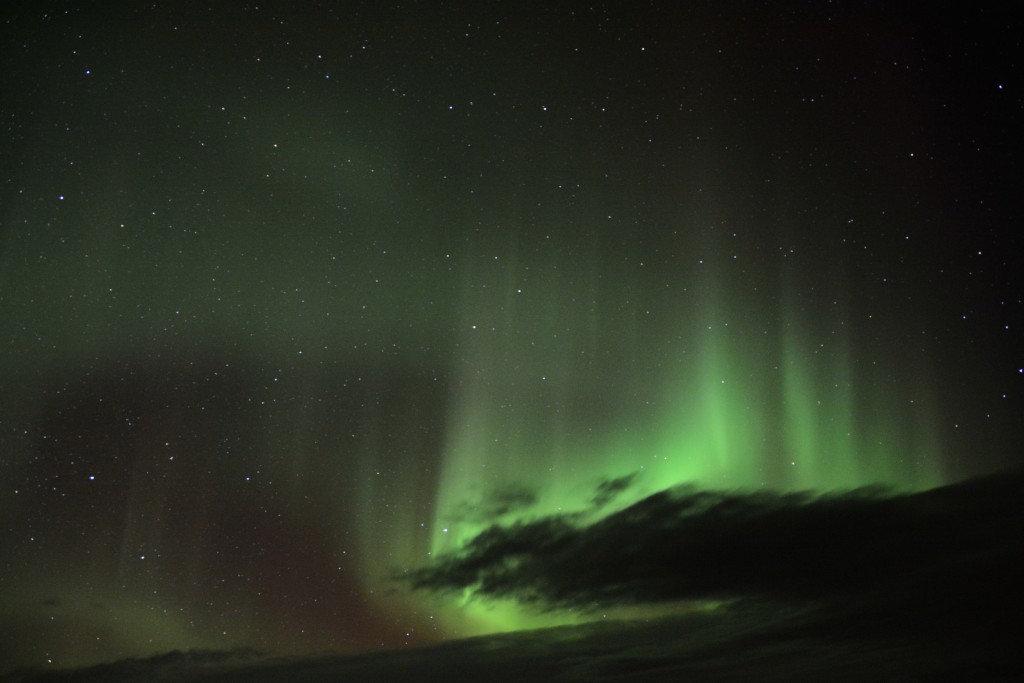
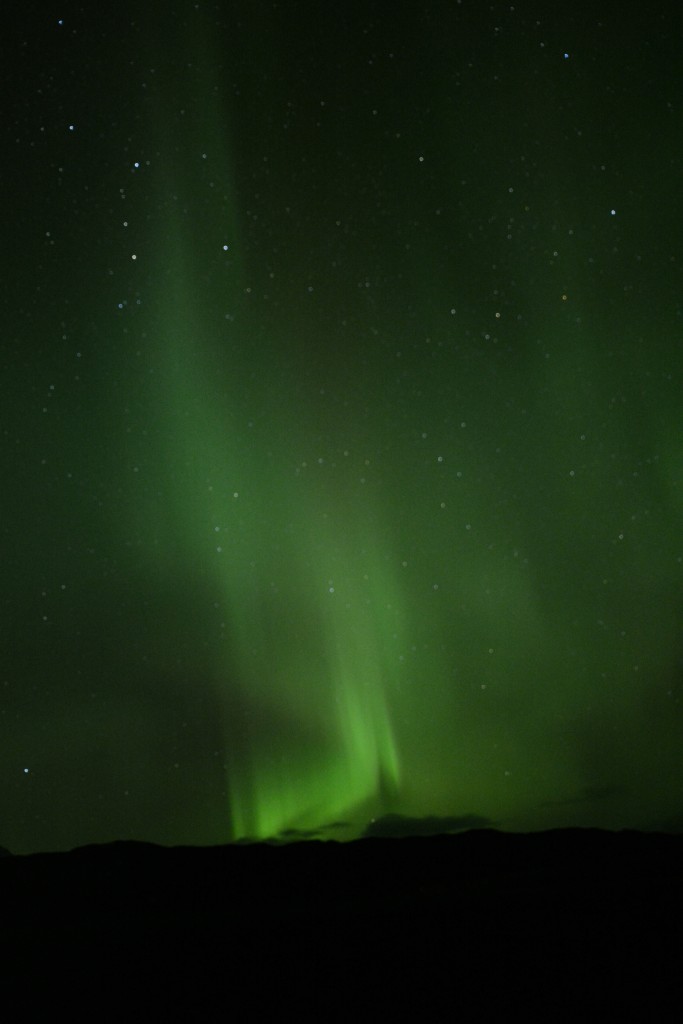
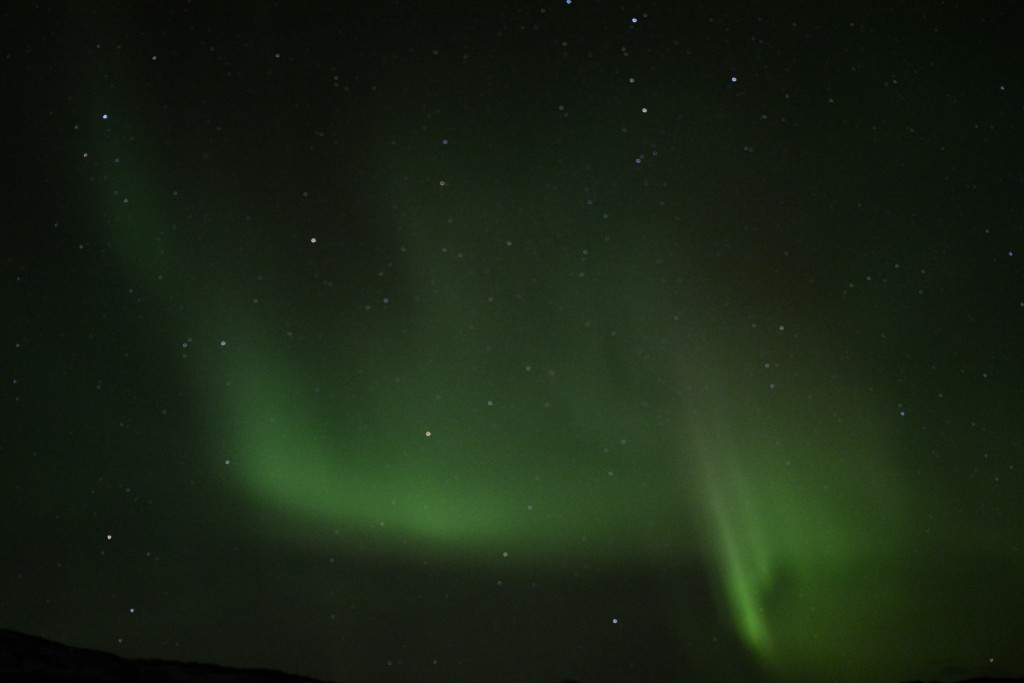
During our first night in Reykjavik, we drove about 30 minutes outside of the city to Lake Kleifarvatn, located in the Krísuvík area at the Reykjanes Peninsula, based on a recommendation from local photographer, Jorunn Sjofn. (All images shown above were taken at Lake Kleifarvatn on February 28, 2014.)
The following night (March 1, 2014), we figured we’d try a different location and drove about 45 minutes outside the capital city of Reykjavik to Þingvellir National Park.
Before heading out each night, we would check the Aurora Forecast. This website provided information regarding the probability of the aurora making an appearance.

Both this night and the previous night were rated 2 out of 10 on the probability scale and we certainly weren’t disappointed! I can’t imagine what a 4, 6 or even 10 looks like!
Supposedly the night before we arrived in Iceland was a 10 on the forecast scale!
Oh well… I was thrilled with what we saw and wouldn’t trade the experience for anything!
Some travel to places like Iceland with the hopes of seeing the northern lights and never see so much as a glimpse. We saw the lights on 3 different nights!
The remaining images were taken in a remote part of southeast Iceland in a little village called Hornafjörður during our stay at Guesthouse Skalafell on March 4, 2014.
In order to capture the northern lights, you will need a camera with manual focus capabilities.
Set the camera to manual focus and set the focal length at infinity.

It’s best to have a wide angle lens, so you can capture a large portion of the sky. Having a fast lens (f/2.8 or better) helps as well. The faster the lens, the shorter exposure time needed.
I usually kept my shutter open for around 20 seconds; sometimes less. Any longer than that and the stars would start to blur from movement.
Keep the ISO as low as possible to avoid ‘noise’ in your photographs. Start low and bump it up, as needed, if your image appears too dark.

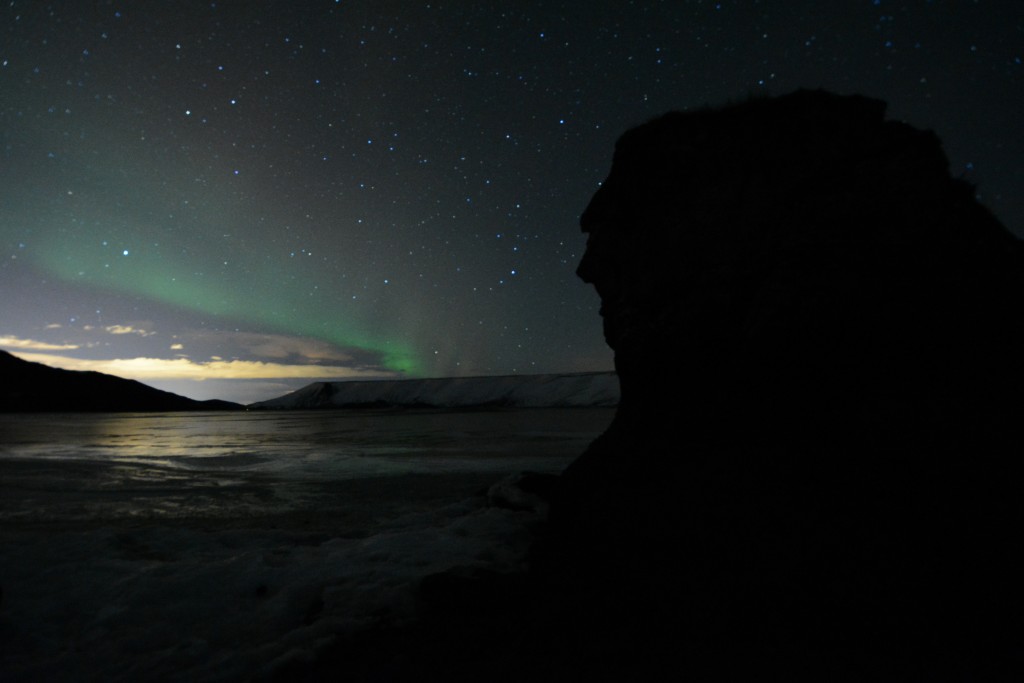
The great part about long exposure and image processing times was that I simply had to click the shutter then look up and enjoy the show!!
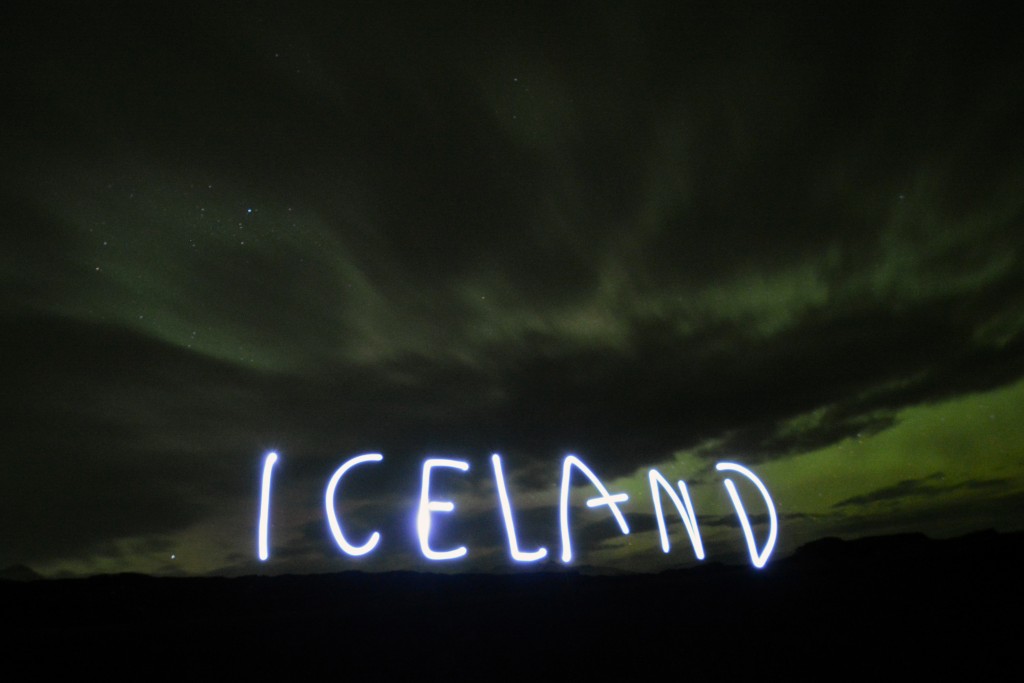
Of course, we had to have a little fun with the longer exposure times and do a little bit of light writing with a flashlight!
Best of luck with your hunt to see the captivating northern nights!
QUICK TIPS
- Camera w/ manual focus capability, along with a sturdy tripod and cable release or self-timer
- Fast lens (f/2.8 or better); wide angle recommended
- Low ISO to avoid noise; increase if the image appears too dark
- Long exposure time, but not too long to avoid star movement; unless that’s what you’re going for! (6-20 seconds recommended)
- Get away from city lights and try to photograph on a night with a new moon to avoid light pollution
- Check the aurora forecast before setting out to avoid disappointment
- Dress in layers. Northern Lights can only be seen in northern destinations in the winter months
- Be patient. The lights don’t always appear when you want them to. Sometimes the show will last a few minutes; other nights it will go on for hours! Each night we saw the lights (Iceland, March 2014), it was in the 10 pm-12 am time frame.